How to Extract (Unzip) tar.xz File: A Complete Beginner's Guide

I am a cloud enthusiast and a full time system administrator with passion for designing robust and efficient cloud architectures to empower businesses. As an AWS Certified Cloud Practitioner, I leverage my skills in Windows Server, DNS, Kubernetes, ECS, Route53, Docker, Ansible, KubeFlow, and Linux to create innovative solutions. I'm constantly expanding my knowledge, currently delving into MSSQL and Kubernetes, and staying updated on the latest cloud trends.
If you've spent any time working with Linux, downloading open-source software, managing remote servers securely (such as allowing SSH Root Login), or dealing with server backups, chances are you've encountered a .tar.xz file. At first glance, it might look like just another compressed folder, but how exactly do you open it?
If you are wondering how to extract a tar.xz file safely and efficiently using the terminal or graphical tools, you are in the right place. This comprehensive guide will walk you through everything you need to know about the tar.xz format, the essential Linux commands, and how to troubleshoot common extraction errors. Let's dive in and demystify the process of working with these highly compressed archives!
If you find this guide useful, you might also like:
Quick tar command reference — concise examples for creating and extracting archives.
Install and use xz on Linux — how to install
xzand use its options.Discovering the Power Behind Popular Linux GUI Applications — explore graphical alternatives for extraction.
Troubleshooting archive extraction errors — fixes for common problems.
Server backups: best practices — tips for reliable backup archives.
1. Introduction
What is a tar.xz file?
A .tar.xz file is an archive created by combining two different tools: tar (Tape Archive) and xz (a compression algorithm based on LZMA2). Essentially, the tar application bundles multiple files and directories into a single archive file, while xz compresses that single archive down to a much smaller size.
Why tar.xz is commonly used in Linux distributions
Over the years, Linux users relied heavily on .tar.gz (gzip compression) and .tar.bz2 (bzip2 compression). However, as software packages grew larger, the need for better compression became crucial. The xz algorithm provides higher compression ratios compared to older formats, meaning smaller file sizes without changing the basic workflow for creating or extracting archives.
For a comparison of formats and when to use each, see tar.gz vs tar.xz: Which to choose?.
Where users typically encounter tar.xz files
You will frequently see .tar.xz files when:
Downloading Software Source Code: Unlike installing precompiled tools via apt, major open-source projects (like the Linux Kernel, Python, and Node.js) distribute their source code in
.tar.xzformat.Automated Workflows: When setting up a professional CI/CD pipeline, pipeline agents regularly download
.tar.xztoolchains for caching and build environments.Creating Backups: System administrators prefer tar.xz when backing up large directories where disk space is a primary concern.
2. Understanding tar and xz Separately
To quickly master the tar.xz command, it helps to understand what the individual tools do.
What is tar?
tar stands for Tape Archive. Originally developed decades ago to write data to sequential magnetic tape drives, it is now the standard utility for collecting many individual files and wrapping them into one single file (often called a "tarball"). Importantly, tar by itself does not compress data—it merely packages it.
What is xz compression?
xz is a data compression utility that uses the LZMA2 algorithm. It takes a file (like our uncompressed tarball) and shrinks its size drastically. While xz is slightly slower to compress data than gzip, it is incredibly fast at decompressing it, making it perfect for software distribution.
Difference between .tar, .tar.gz, .tar.bz2, and .tar.xz
.tar: Just an uncompressed bundle of files..tar.gz(gzip): Fast compression, fast extraction, decent file size reduction..tar.bz2(bzip2): Slower compression, better size reduction than gzip (but largely superseded by xz)..tar.xz(xz): Extremely high compression ratio, creating the smallest file sizes, with fast decompression speeds.
3. Prerequisites
Before we start typing commands to unzip a tar.xz file, let's verify that your system has the required utilities installed.
Required Tools
To extract tar.xz files via the command line, you need:
tar: The archiving tool.
xz-utils: The package containing the
xzdecompression libraries.
How to check if tar and xz are installed
Open your terminal and check the versions of these tools by running:
tar --version
xz --version
If the system outputs version information for both, you are good to go! If you get a "command not found" error, you need to install them. If xz is not installed, follow this quick tutorial to install xz.
Installation Commands for Different Distributions
Ubuntu, Debian, and Linux Mint:
sudo apt update
sudo apt install tar xz-utils
CentOS, RHEL, and Fedora:
sudo yum install tar xz
Arch Linux and Manjaro:
sudo pacman -S tar xz
4. How to Extract tar.xz File (Step-by-Step)
Now for the main event: how to extract tar.xz files on Linux. To extract with the terminal, use tar -xf archive.tar.xz; see the full tar command guide for more examples.
The Basic Extraction Command
If you have a file named archive.tar.xz in your current directory, the standard tar.xz command to extract it is:
tar -xf archive.tar.xz
This command will quietly unpack the contents into your current working directory.
Explanation of Each Flag
Let's break down the flags used in tar commands. While modern versions of tar can auto-detect the xz compression, the traditional and explicit way to untar tar.xz includes the -J flag:
tar -xvf archive.tar.xz
# OR explicitly:
tar -xJvf archive.tar.xz
Here is what these letters do:
-x(eXtract): Tells tar to extract files from an archive.-v(Verbose): Tells tar to list the files on the screen as it extracts them (highly recommended so you can see what's happening!).-f(File): Specifies the name of the archive file you are targeting. This must always be the last flag before the file name.-J(xz): Explicitly tells tar that the archive is compressed using the xz algorithm.
Extract to a Specific Directory
By default, tar extracts files into the current folder. If you want to unzip tar.xz into a different location, use the -C (Change directory) flag:
tar -xf archive.tar.xz -C /path/to/destination/
Note: The destination directory must already exist before you run this command.
Extract Specific Files from the Archive
If you only need a single file (e.g., readme.txt) from a massive archive, you don't have to extract the whole thing. Append the internal file path to your command:
tar -xf archive.tar.xz path/inside/archive/readme.txt
List Contents Without Extracting
Want to see what is inside the archive before committing to an extraction? Use the -t (list) flag instead of -x:
tar -tf archive.tar.xz
Extract with Progress
If you are extracting a massive multi-gigabyte backup, the terminal might sit blank for a while. You can monitor the progress by installing the pv (Pipe Viewer) tool and piping the file through it:
pv archive.tar.xz | tar -xJ
Pro tip: If your extraction is slowing down because of heavy disk writes, you can profile your system's disk load utilizing great monitoring tools like iotop.
5. Extracting tar.xz on Different Platforms
While Linux handles tar files natively, you might find yourself needing to open these files on other operating systems.
Linux (CLI and GUI Methods)
As covered above, the standard tar -xf filename.tar.xz in your terminal is the preferred and fastest method. Many desktop environments support right-click extraction — see our roundup of GUI tools for Linux workflows for details.
Windows
Windows does not support tar.xz natively out of the box through double-clicking, but you have two excellent options:
Using 7-Zip: Download and install 7-Zip. Right-click the
.tar.xzfile, hover over "7-Zip," and select "Extract Here". Note: 7-Zip might extract the.xzpart first, leaving you with a.tarfile. Just right-click and extract the.tarfile again.Using Windows Subsystem for Linux (WSL): If you are a developer using WSL (Ubuntu on Windows), simply open your WSL terminal, navigate to your
/mnt/c/drive, and run standard Linux tar commands.
macOS (Terminal Method)
macOS is built on a Unix foundation, which means it comes with the tar application perfectly intact. Open your macOS Terminal app and run:
tar -xf archive.tar.xz
Alternatively, Mac tools like The Unarchiver can handle these files graphically.
6. Common Errors and Troubleshooting
Even seasoned DevOps engineers encounter errors. Here is how to handle them. If you run into permission or corrupted archive errors, consult our ultimate guide on troubleshooting extraction errors.
"tar: command not found" or "xz: command not found"
Cause: The required utilities are missing from your system. Fix: Refer back to Section 3 and run the installation commands for your Linux distribution.
"Permission denied"
Cause: You are trying to extract files into a directory where your current user doesn't have write permissions (e.g., /opt/ or /usr/local/). Fix: Prefix your extraction command with sudo:
sudo tar -xf archive.tar.xz -C /opt/
"Unexpected EOF in archive" or "Corrupted archive"
Cause: The file download was interrupted, or the file is genuinely corrupted. Fix: Re-download the file. If you have the checksum (like an MD5 or SHA256 hash), verify that the downloaded file matches the original hash.
7. Advanced Usage
Ready to level up your Linux CLI skills? Try these advanced techniques.
Combining Extraction with Pipe
Sometimes you might download a file utilizing curl or wget and want to extract it immediately without saving the compressed tarball to disk first:
curl -L https://example.com/software.tar.xz | tar -xJ
Extracting and Moving in One Command
You can utilize the -C argument and the --strip-components flag. Many archives put everything inside a top-level root folder. To bypass that parent folder and extract the contents directly into your target directory:
tar -xf archive.tar.xz -C /var/www/html/ --strip-components=1
Verifying Archive Integrity
You can test the integrity of an xz file before unzipping it using the xz tool directly:
xz -t archive.tar.xz
If the command completes silently and returns to the prompt, the file is structurally sound.
Performance Considerations
Extraction is heavily reliant on CPU performance. If you are dealing with very large files, some implementations of tar and xz (like pixz) can utilize multi-threading to speed up the decompression process.
8. Real-World Example
Let's look at a practical, end-to-end scenario: downloading, extracting, and compiling the popular htop tool from source.
Step 1: Download the software package
wget https://github.com/htop-dev/htop/releases/download/3.2.2/htop-3.2.2.tar.xz
Step 2: Extract the tar.xz file
tar -xvf htop-3.2.2.tar.xz
Step 3: Navigate into the newly extracted folder
cd htop-3.2.2
Step 4: Compile the source code (Assuming build tools are installed)
./configure
make
sudo make install
By simply unzipping the tar.xz file smoothly, you've set the stage to successfully compile a Linux package from scratch!
9. Best Practices
To ensure smooth operations going forward, keep these best practices in mind:
Security Tips: Never blindly extract archives using
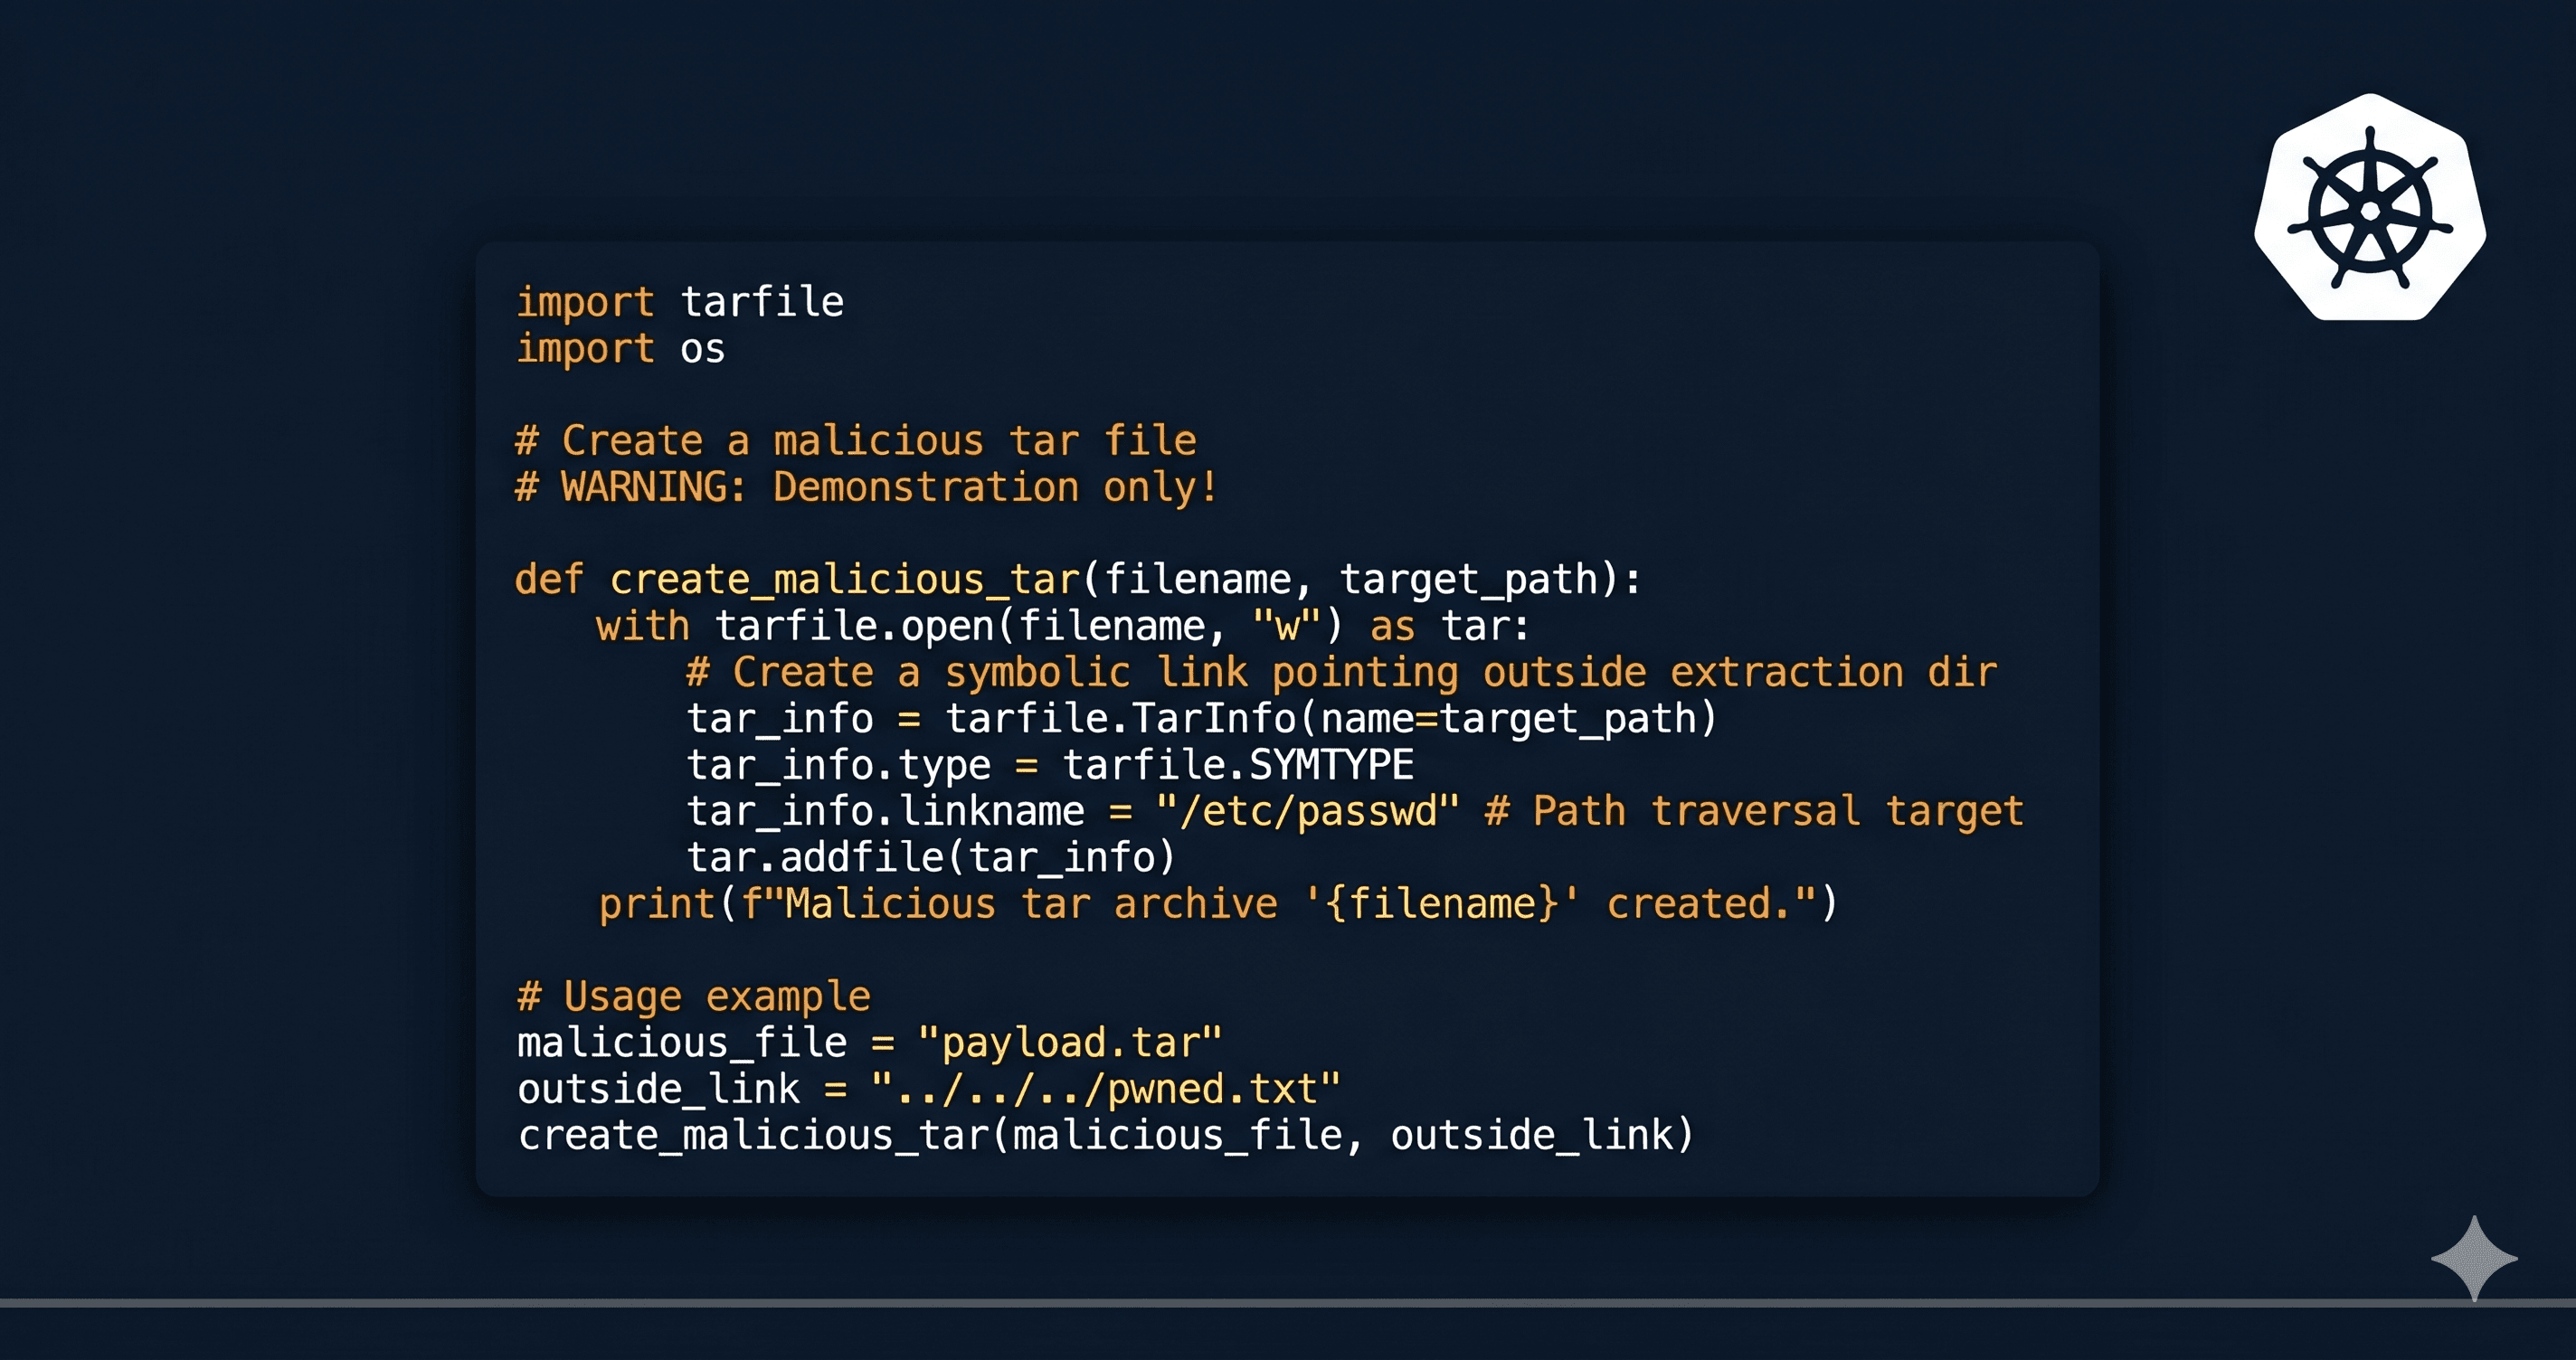
sudounless you completely trust the source. Malicious archives can be crafted with absolute paths (e.g.,/etc/passwd) to overwrite system files, although moderntarversions aggressively strip leading slashes by default to prevent this.Verify Checksums: Always verify SHA-256 signatures when provided by software developers. This ensures you haven't downloaded a slightly corrupted package or fallen victim to a "man-in-the-middle" attack.
Extract Safely: Always consider running
tar -tf archive.tar.xzfirst to preview the directory structure. It's frustrating to extract an archive that spills hundreds of loose files into your pristine~/Downloadsfolder instead of containing them neatly inside a parent directory.
10. Conclusion
Knowing how to extract tar.xz files is an absolutely critical skill for anyone using Linux, whether you are a beginner fiddling with a Raspberry Pi or an intermediate user moving toward SysAdmin or DevOps roles.
To quickly summarize: the magic tar.xz command is just tar -xf filename.tar.xz. Remember to use -v if you want verbose output and -C to extract to a specific target directory.
Now that you've mastered how to untar tar.xz archives, you are well on your way to Linux command-line mastery. Don't be afraid to read the manual (man tar) to discover even more powerful tricks you can perform!
Frequently Asked Questions (FAQ)
1. Can I use the unzip command for a .tar.xz file?
No. The unzip command is specifically designed for .zip files. For .tar.xz files, you must use the tar command.
2. Is .tar.xz better than .zip?
In the Unix/Linux ecosystem, yes. .tar.xz preserves Linux file permissions, ownerships, and symbolic links perfectly, whereas the standard .zip format does not natively handle these attributes well. Furthermore, xz offers vastly superior compression ratios compared to zip.
3. How do I create my own tar.xz file?
To compress a folder into a tar.xz archive, use the -c (create) flag:tar -cJf myarchive.tar.xz /path/to/my/folder
4. Why is extracting my .tar.xz taking so long?
The xz algorithm trades CPU computing time for smaller file sizes. Sometimes extracting very heavily compressed large files simply takes time, especially on low-powered CPUs. Using the -v flag during extraction lets you visually confirm that progress is continuously being made.
5. How do I delete the original archive automatically after I extract it? While tar doesn't have a built-in flag to delete the source archive post-extraction, you can chain commands together using &&: tar -xf archive.tar.xz && rm archive.tar.xz